
If you want to merge multiple video clips or you are editing a movie, it’s probable you need to add some effects in order to prevent your video from appearing choppy. Fading and Crossfading effects are the main ones to obtain a professional video clip.
What are Fade in, Fade out and CrossFade Effects?
-FADE IN: gradual increase of audio level and video (used at the beginning of the movie)
-FADE OUT: gradual decrease of audio level and video dissolving (used at the end of the movie)
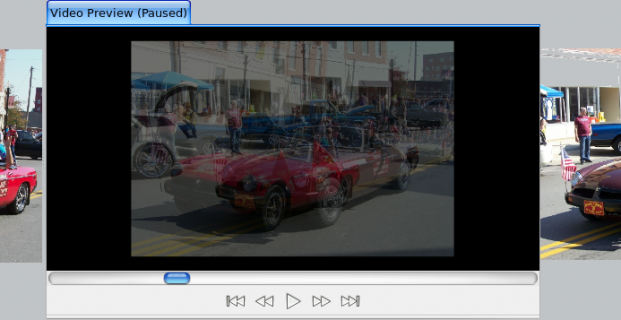
-CROSSFADE: overlap of video (used in video mixing: the first dissolve and the second one gradually appears)
How to Add Fade and Crossfade Effect on Video Clips?
All professional video editing software have the Fade in/out and Crossfade features, e.g Adobe Premiere Pro, Final Cut Pro, Sony Vegas, etc.. But these professional software are not so cheap and are not so easy to use. If you are searching for a simple video editor and with affordable price, we suggest you to try VIDEO MIX.
VIDEO MIX allows you to add fade in, fade out and crossfade transitions/effect on your video clip in a very simple way. Here are the detailed steps.
Step 1. Download and install the free trial version of Video Mix on your PC Windows

Video Mix supports all Windows OS. With the free trial version you can apply all fade and crossfade effects to see how it works. It will add a watermark on the output video. You need to request the full version to remove this watermark.
Once installed you will see this window:

Step 2. Add your video files
Click on “Add Video Files” button to load your video clips

Below the video waveform you will see the following parameters: fade-in value, fade-out value, crossfade checkbox, volume, tempo and pitch.
Step 3. Add Fade in/out and Crossfade effect
By default the fade in and fade out effect are set to 2000 ms (2 sec), but you can change this value from 0 to 5000. Higher is its value, the more gradual will be the fade effect on the video.
If you are mixing two or more video clips you can also select the box “crossfade” so that the program will “overlap” the video to make the transition more gradual, just like in professional movies! The crossfade durations will be the sum of the fade out of the first video and the fade in of the second video.

Step 4. Choose the output video format
In the Options menu you can choose the output folder (“Desktop” is the default value), the output resolution (720p is the default value), the output format (mp4 is the default) and the framerate. Click SAVE button to save the changes.

Step 5. Save the video with the fade and crossfade effects
From the main window you can see the “output video preview” and if it is OK you can press on the “Export and Save Video” button to save the output video. It will take some time to create the final video with the fade and crossfade transictions/effects. That’s all!